We all want something unique and only ours, so who doesn’t want a personalized version of their favorite sneaker?
In this article we’ll explain the process of customizing a sneaker.
1st Sole deconstruction
The first step is to start undoing the seam that connects the upper to the sole. With the help of a seam ripper and a scissor, we start pulling out the stitches. Once the seam is completely undone, we apply acetone between the sole and the insole to dilute the glue. After applying the acetone, we leave it to act for 20 minutes.
After letting the acetone work, we start to detach the sole from the insole and once this process is complete, with the help of a hairdryer, we start to separate the sole and the insole that were glued together.
2nd Deconstruction of the upper
The second stage of this process is the dismantling of the upper, where all the pieces that make up the outside of the sneaker are carefully separated.
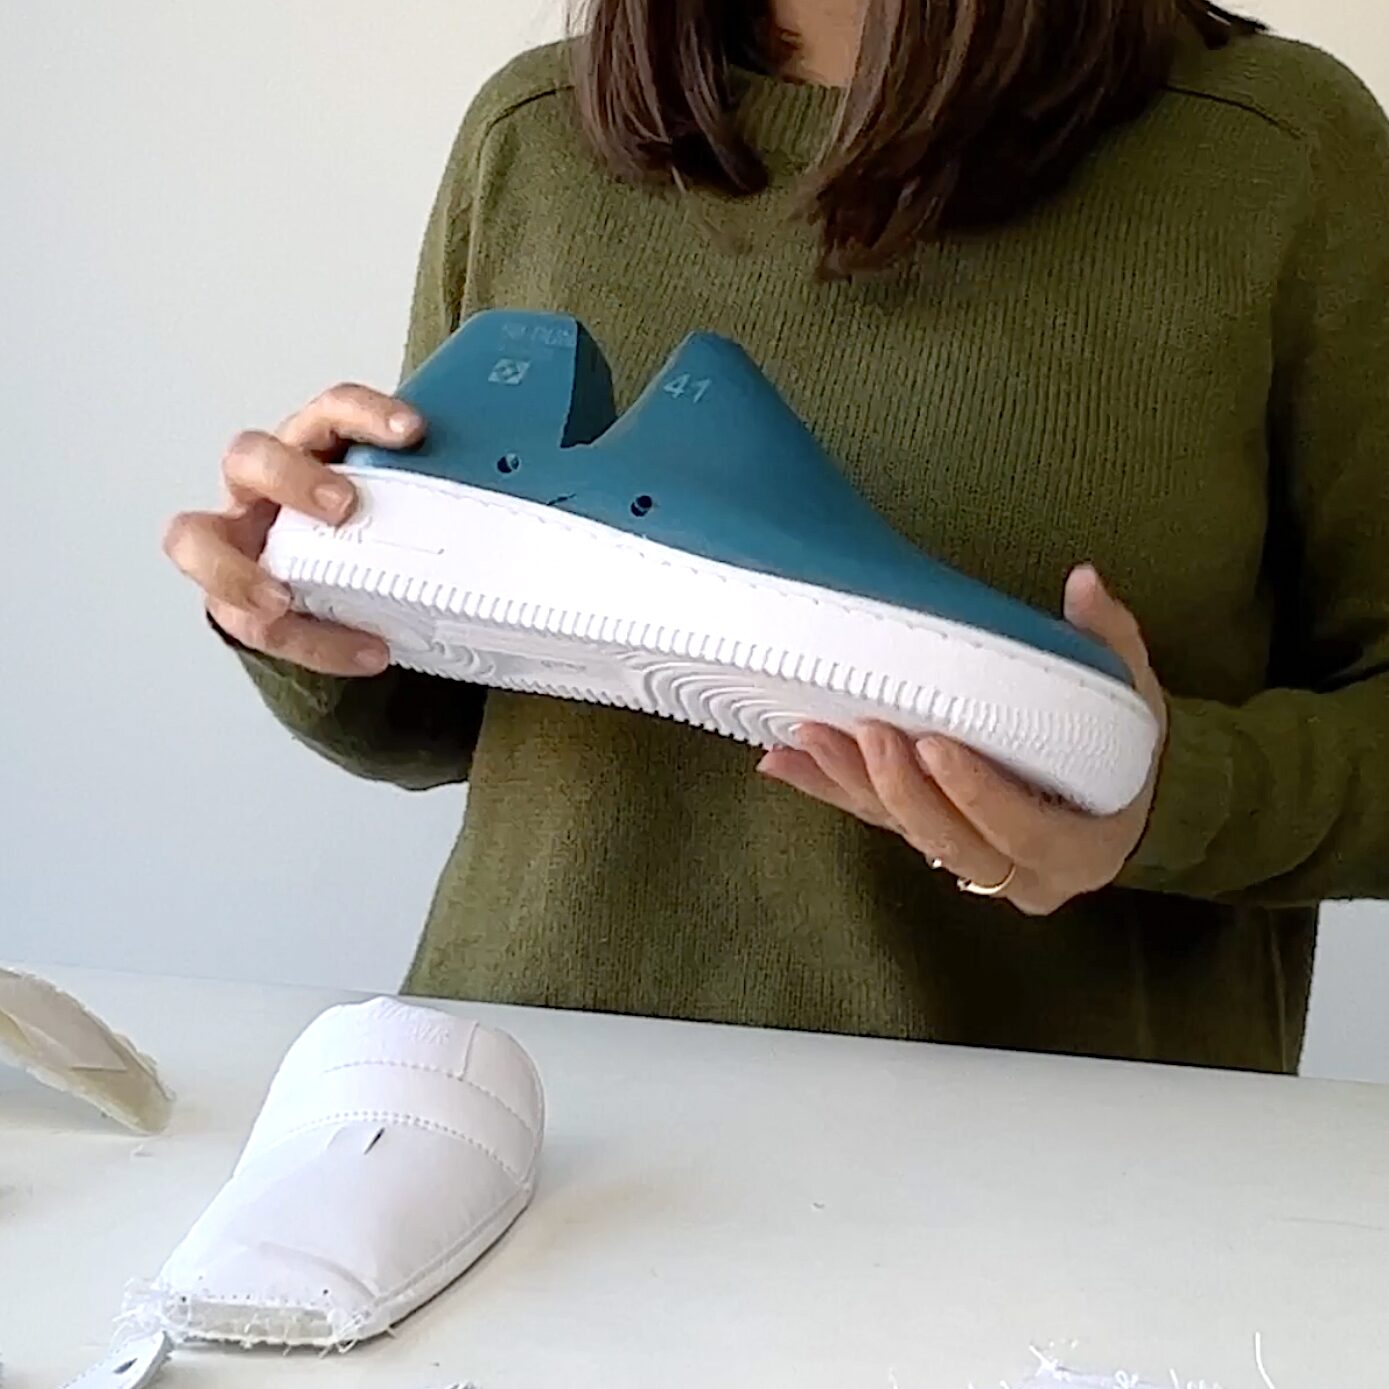
3rd Shoe Last
The shoe last is the starting point of the sneaker development process. The shape will determine the model’s fit, performance, ergonomics, and appearance.
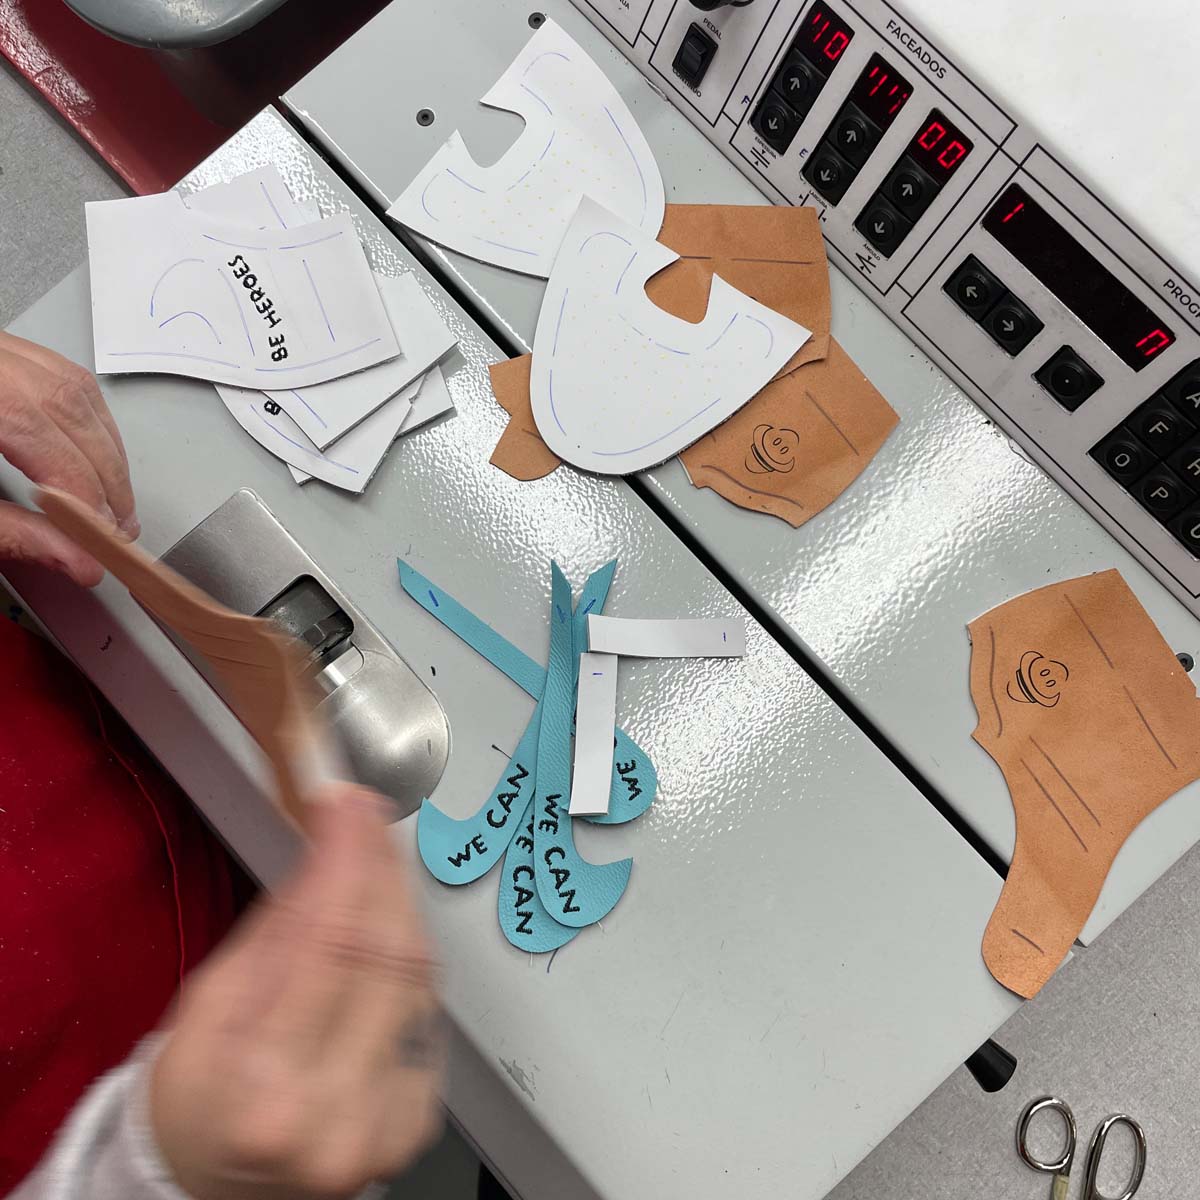
4º Patterns
Once the shoe last process is complete, we start doing the patterns. With the help of MindCad 2D we make the pattern of each piece that will make up the sneaker. Once this process is complete, the patterns are printed and cut out.
5º Design
Now it’s time to get creative and design the customization of the model.
6th Cutting of materials
Using the patterns we’ve made, we now cut out the materials that will make up the model.
7º Engraving
For the model to be more deeply personalized, we can do some engraving. In this case, we put an embroidered phrase, a printed logo and a laser engraving on the sole.
8th Stitching
Now the pieces that will make up the model are sewn together.
9th Assembly and sole gluing
Once the pieces have been sewn together, they are placed on the form to give them the desired shape. They are then glued to the sole.
10th Sole stitching
After gluing, the sole is sewn together. This is the last stage before finishing.
11º Finishing
This is the last stage, here the model is cleaned, and the final finishing touches are made before the model is placed in the box.